
During the installation process, WordPress creates two default login URLs. I’m sure you’re already familiar with at least one of these, but the two are:
- wp-admin.php
- wp-login.php
This happens during every WordPress installation. Given that these repetitive login URLs are a potential security risk (more on this later!), it’s somewhat surprising that WordPress doesn’t give users the option to create a custom login URL, don’t you think?
Well, even if WordPress doesn’t allow you to customize the login URL by default, it isperfectly possible to do so. If you’ve ever wondered how to change the default URLs, read on, as I’m about to show you!
Why Should I Change the WordPress Login URL?
Before we begin, though, let’s take a look at three reasons why you might want to create a custom login URL.
1. Protect Against Brute Force Attacks
Security is undoubtedly the main reason for webmasters to change their login page – changing login URL protects against the most common type of website security breach, a brute force attack.
Now, brute force attacks involve exhaustive “guessing” of login credentials until the correct combination is found. This means a brute force attack needs to crack three variables to succeed:
- Username – don’t choose something obvious, like “admin.”
- Password – again, avoid the obvious and go for a complex password.
- Your login URL – the gateway to the WordPress dashboard.
In other words, when you continue to use the default login URLs, wp-admin and wp-login, you leave yourself more vulnerable – a hacker only needs your username and password to access your site. When you change your login URL, you are making the bad guys work significantly harder.
It’s also worth pointing out that, even if an attacker can’t correctly crack your login credentials, they can still use a lot of bandwidth in their attempts. Moving your login page combats this problem.
2. Hides WordPress Vulnerabilities
Despite powering one-third of the internet, the WordPress platform isn’t perfect. Like any software, WordPress is never 100% immune from bugs and vulnerabilities.
On one hand, the size of the WordPress community means we have lots of good people working hard to fix any problems. On the other, and largely because of the number of websites covering WordPress news, any security vulnerability gets a lot of press. When news of a known vulnerability breaks, the malicious hackers instantly know where your defenses are potentially weak.
By changing your login URL, you’re protecting yourself against a tell-tale sign that your site uses WordPress, thus distancing yourself from any known problems. This alone won’t keep you safe, of course, but it’s an easy place to start.
3. Rebrand the Entire Login Screen
If you run a WordPress-powered membership website, your visitors/customers probably access your content via the login screen. When they’ve paid good money for access, the default login screen is, well, somewhat underwhelming, right?
The same applies to the login URL – non-WordPress users might also be confused why you’ve gone for wp-admin or wp-login in your URL. It’s not a huge problem, but the devil is in the details, right?
To solve this problem, many webmasters prefer to switch the default login screen for something more aesthetically pleasing. Hence, they design a custom WordPress login page, complete with a brand new URL.
How to Change the WordPress Login URL
With the motivations covered, now it’s time for the practical stuff: In this section, I’m going to walk you through the necessary steps required to customize the WordPress login URL.
As you’ve probably guessed, this can be achieved with the help of a plugin. There are a number of plugins up to the task, including:
Today, I’ll be demonstrating how to use the latter: WPS Hide Login. The plugin is super-lightweight, so it won’t slow your website down.
The plugin doesn’t delete the default URLs; it simply makes them inaccessible. Instead, users will access the WordPress admin via your newly created URLs. This is advantageous as, should you wish to delete the plugin, your website will return to its former state with the default URLs.
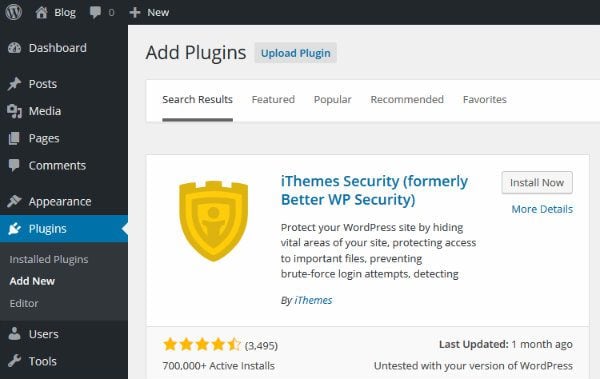
Let’s start by installing the plugin. From the WordPress dashboard, navigate to Plugins> Add New > search for ‘WPS Hide Login.’
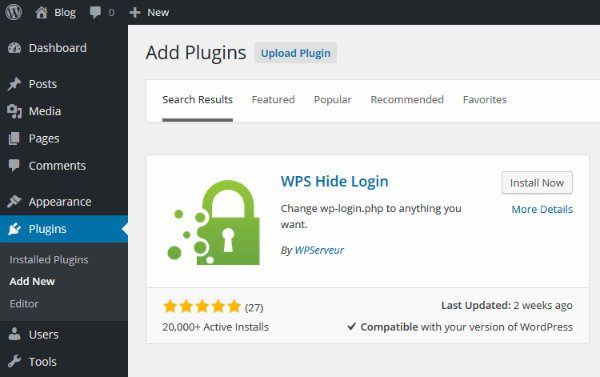
It should be the first plugin returned. When you’ve found it, click Install Now > Activate Plugin.
A quick word of warning: as soon as you hit Activate, the plugin will block access to the default login URLs – wp-admin and wp-login. The plugin will change the login URL by default to www.example.com/login. Remember this in case you get locked out. And, as soon as you’ve changed the login to your preferred URL, make sure you take note of it. You will not be able to access your website the standard way.
That warning might sound scary, but it’s just precautionary. I don’t want to be responsible for anyone getting locked out of their website! Fortunately, the plugin is really easy to use.
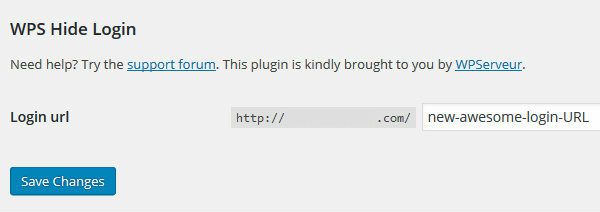
The next (and final) step is to navigate to Settings > General. Scroll to the bottom of the screen and you should see a WPS Hide Login section. In the blank field, write your desired WordPress login URL. Then, hit Save Changes.
Hey presto! Now, when I attempt to access the default login URLs, my access is denied. Instead, I see this:
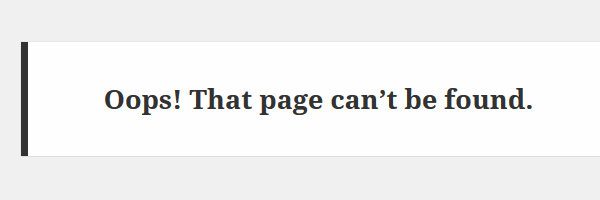
But when I try to visit my chosen login URL, I see the familiar old login screen. And that took, how long to configure? All of 30 seconds?
It’s also worth pointing out that your new login URL can cause problems if you’re using a caching plugin. To solve this problem, the plugin developer states that you should “add the slug of the new login url to the list of pages not to cache.” This isn’t necessary for WP Rocket users, as the two plugins are already fully compatible.
Want More Security?
It’s worth noting that simply changing your login URL won’t improve your website’s security. It just makes your site harder for the bad guys to detect.
If you want a plugin with lots of impressive security-enhancing features and functionalities up its sleeve – as well as the ability to customize the WordPress login URL – look no further than iThemes Security Lite.

A dedicated security plugin like this offers comprehensive all-round protection, which gives you some much-needed peace of mind. And, as one of the best all-in-one security plugins around, I can recommend downloading iThemes Security for a multitude of reasons – you can also consider upgrading to the premium version if you want even more features.
If you wish to change the WordPress login URL using iThemes Security, here is a quick tutorial. (Because of all the extra security features, this plugin is “heavier” than our first plugin, meaning speed-conscious webmasters might prefer to use the WPS Hide Login plugin. As such, I have presented it as an alternative, rather than the only option.)
As with before, let’s start by installing and activating the plugin.
iThemes Security is a far more advanced plugin than WPS Hide Login. Changing the URL is just as easy, but it requires you to sift through a lot more settings to get there. Navigate to the newly created menu item, Security > Settings. Next scroll down to theHide Login Area section, around two-thirds of the way down the screen. To speed things up, the drop-down go to menu on the right of the screen allows you to quick-jump there.
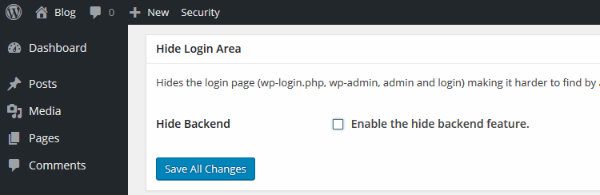
Check the Enable the hide backend feature box to expand the section. In the Login Slug field, write your new custom login URL. You should also leave the Enable Theme Compatibility box checked – it does exactly as the name implies! Finally, click the blueSave All Changes button.
Again, remember to note down your new login URL, as you will no longer be able to use the old ones.
Final Thoughts
That concludes today’s tutorial. If you’ve ever wondered how to customize the login URL, well, now you know! Best of all, using the plugins featured in today’s post, you’ll find the process to be quick, easy, and painless. If you have any questions, ask away in the comments section below, and we’ll do our best to help!


Would love to here from you...